Particle Attractor
Project Description
Particle attractor was an experiement aimed at understanding the basics of GPGPU in webGL. Because webGL2.0 does not support compute shaders, there were 2 primary methods of implementing this being, ping pong vertex transform, and ping pong textures. The simplest for this task is to use the vertex transform feedback which allows me to capture primitives generated by the vertex shader and record that data into buffer object. This allows me to keep the post transform state and render it to the screen on each frame.
Technologies Used
Planning
As this project is fairly simple, there are only a few steps to get the desired result.
- Setup rendering engine.
- Generate particles.
- Initiate buffers.
- Create shader program.
- Create render loop.
Setting Up the Rendering Engine.
I am using an extremely simple, hand written rendering engine that provides minimal abstraction over the shader programs and buffer objects. You can check it out in this project's repository.
Generating Particles.
The great thing about the GPU is that it can process hundreds of thousands of vertices in parallel which means we can handle much more particles than on the CPU.
// We first generate a set of x and y coordinates for each particle
function generateParticles(count: number) {
  let particles = [];
  for (let i = 0; i < count; i++) {
    particles.push(Math.random() * width, Math.random() * height); // x, y    particles.push(0, 0); // vx,vy  }
  return particles;
}
Initiating Buffers.
Now we initiate all the buffers for this rendering engine.
// ...
this.VAO1 = new VAO(this.gl);
this.VAO2 = new VAO(this.gl);
this.VBO1 = new VBO(
  this.gl,
  generatePoints(this.numPoints),
  this.gl.DYNAMIC_DRAW,
);
this.VBO2 = new VBO(
  this.gl,
  generatePoints(this.numPoints),
  this.gl.DYNAMIC_DRAW,
);
this.TF1 = createTransformFeedback(this.gl, this.VBO1);
this.TF2 = createTransformFeedback(this.gl, this.VBO2);

// Set how data is arranged in the vertex buffer objects
const attribLayout = new VAOAttribLayout();
// Store position x and y
attribLayout.addAttrib(2, this.gl.FLOAT, false);
// Store velocity vx and vy
attribLayout.addAttrib(2, this.gl.FLOAT, false);

this.VAO1.addAttribute(this.VBO1, attribLayout);
this.VAO2.addAttribute(this.VBO2, attribLayout);
// ...
Notice how there is 2 VAO, VBO and TF buffers. This is what allows us to ping pong between the current state and the next state.
In other words, buffer A will first be used to calculate the next position which is then stored to buffer B. They are then swapped so that buffer B is used to calculate the next position which is stored in buffer A and so on.
Vertex Shader
The vertex shader will be used to update the properties of each individual particle in the simulation.
- Simulate drag forces by slowing down the particle.
- Accelerate the particles to the mouse when pressed.
- Update the positions of each particle using the formula: xf= xi + vf.
// ...
// Returns the attraction force between mouse and particle
vec2 gravityForce() {
  return normalize(u_MousePosition - a_OldPosition);
}

vec2 calcNewVelocity() {
  // Apply a frictional/drag force
  vec2 vel = a_OldVelocity * 0.985;
  // Accelerate the particle to mouse if
  // mouse left is pressed down.
  if (u_MouseDown == 1) {
      vel += gravityForce();
  }
  return vel;
}

void main() {
  v_NewVelocity = calcNewVelocity();
  v_NewPosition = a_OldPosition + v_NewVelocity;

  gl_Position = u_MVP * vec4(a_OldPosition, 0, 1);
  gl_PointSize = 1.0;
}
Fragment Shader
We can now render this on our screen using our fragment shader and also apply a beautiful chromatic effect as highlighted below.
// ...
void main() {
  vec2 direction = normalize(v_NewVelocity);
  vec3 color = vec3(abs(direction.x),    abs(direction.y + direction.x) / 2.0,    abs(direction.y));  f_Color = vec4(color, 0.7);
}
Results
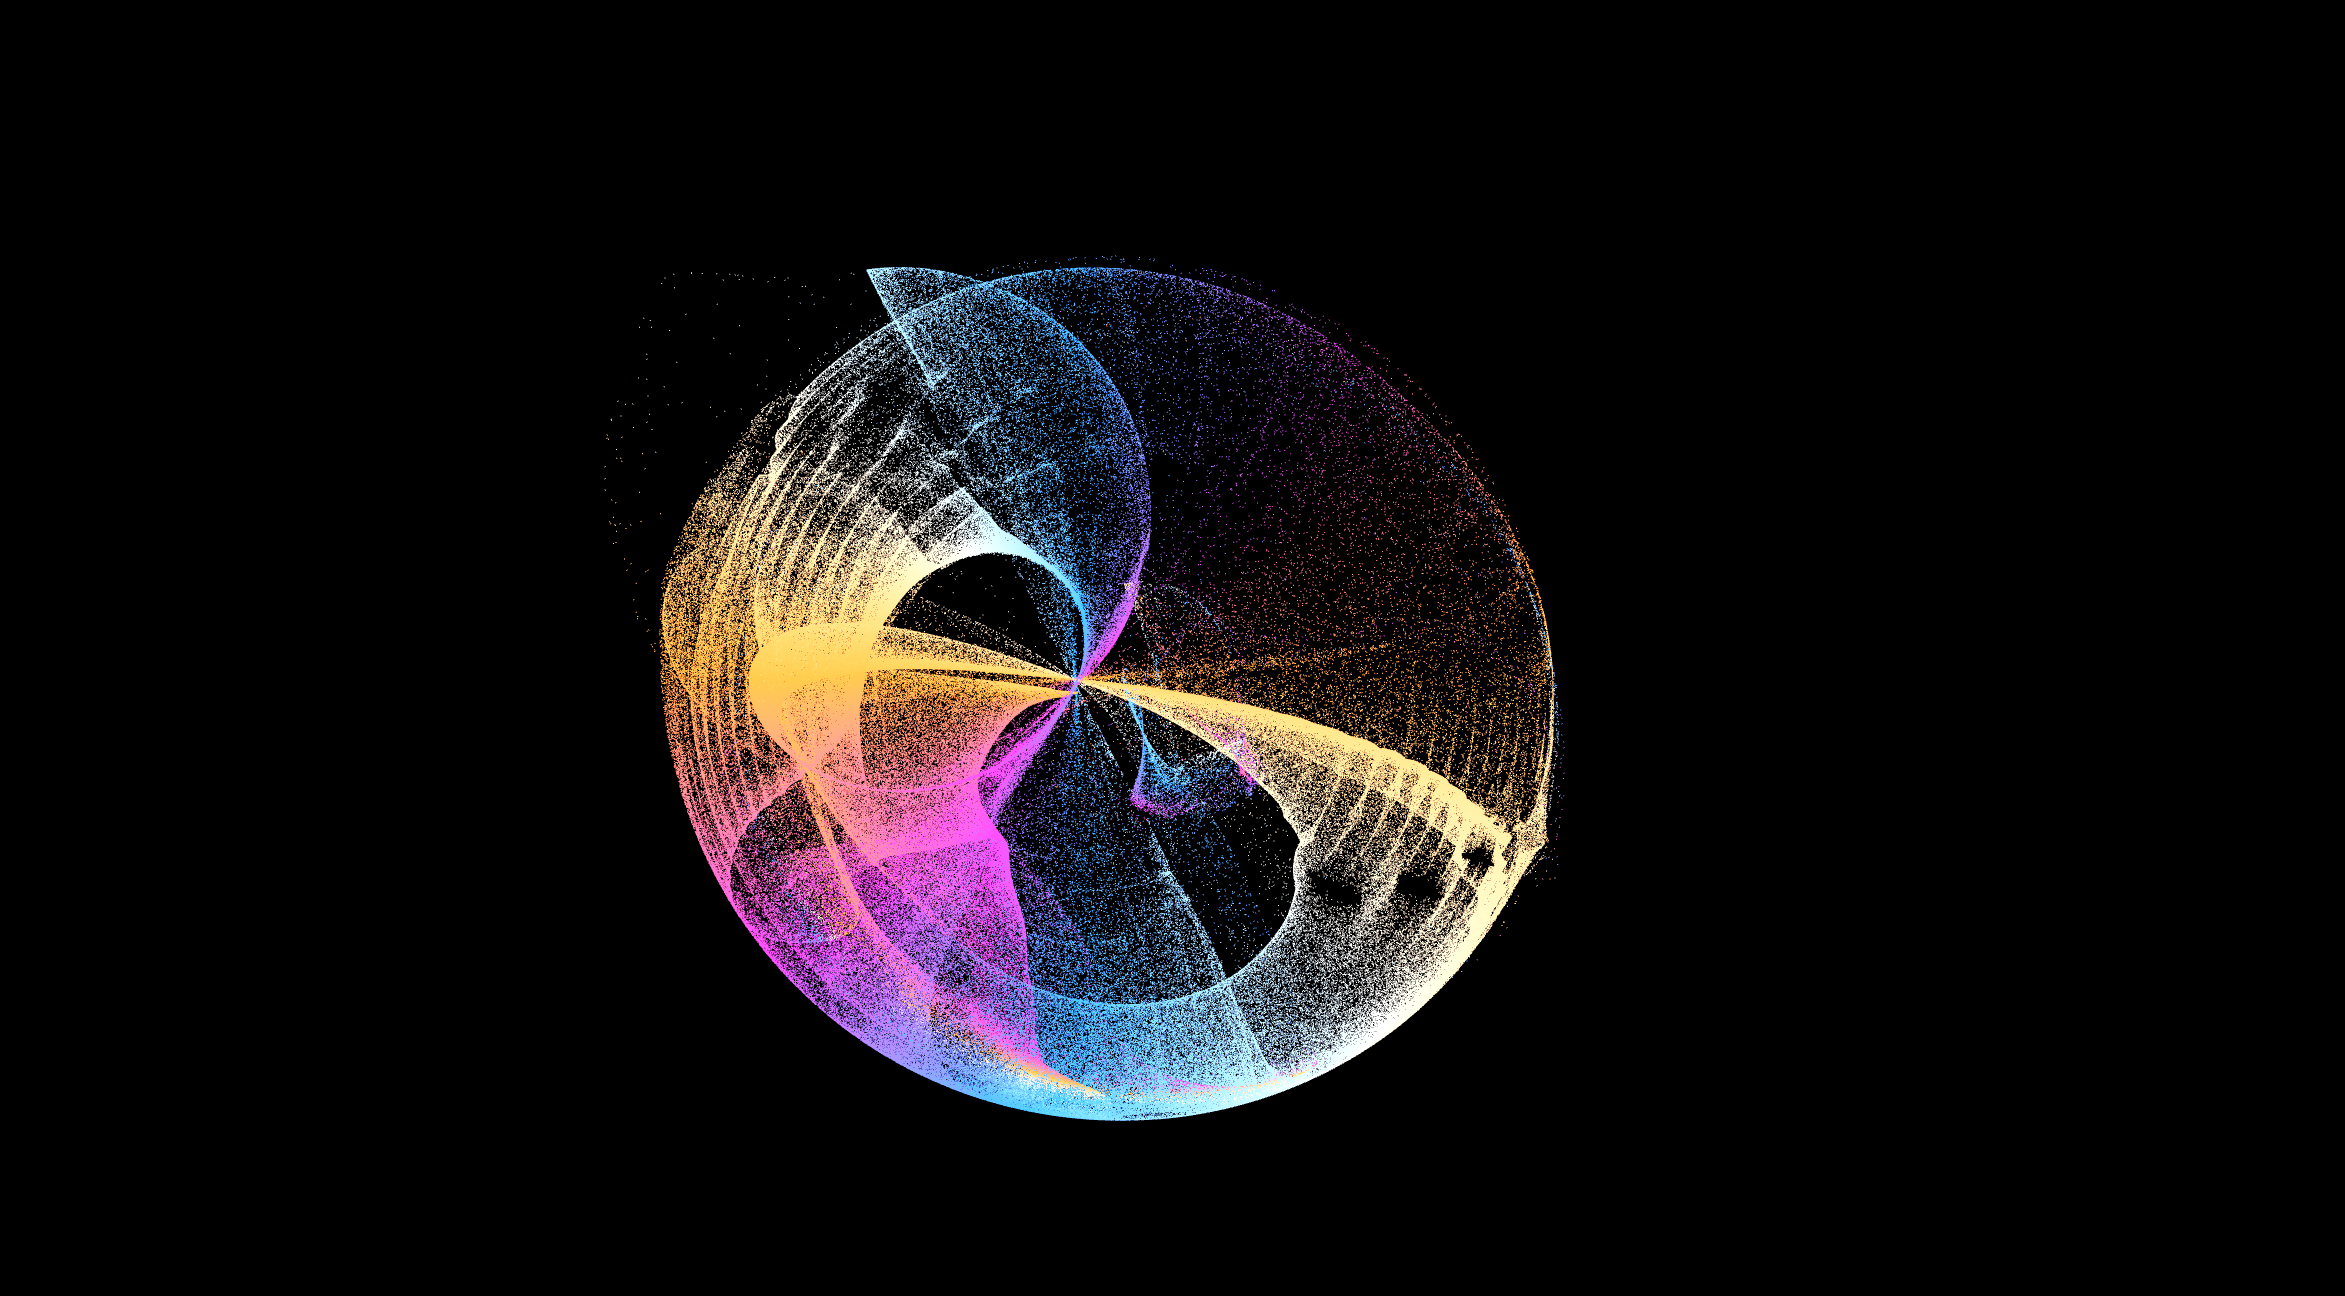
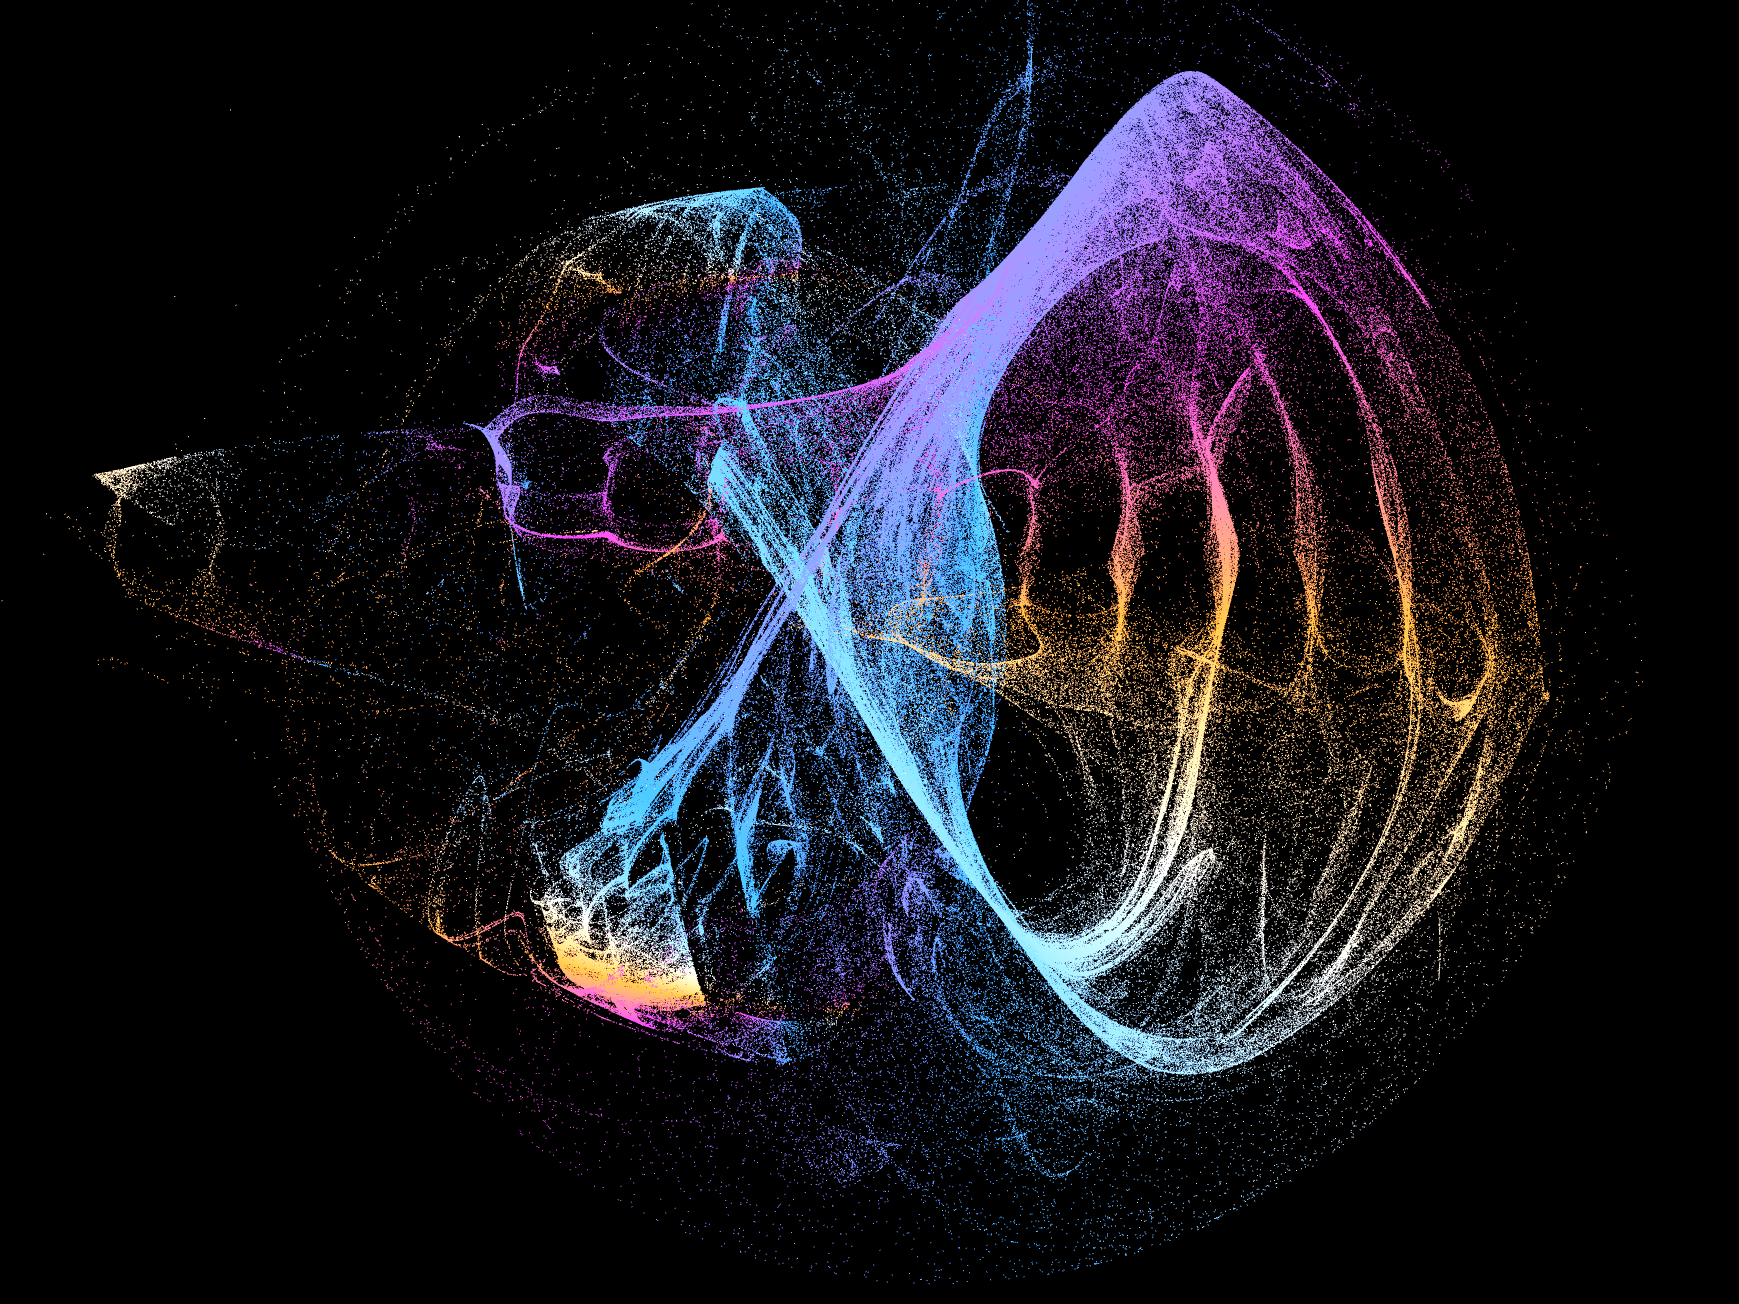
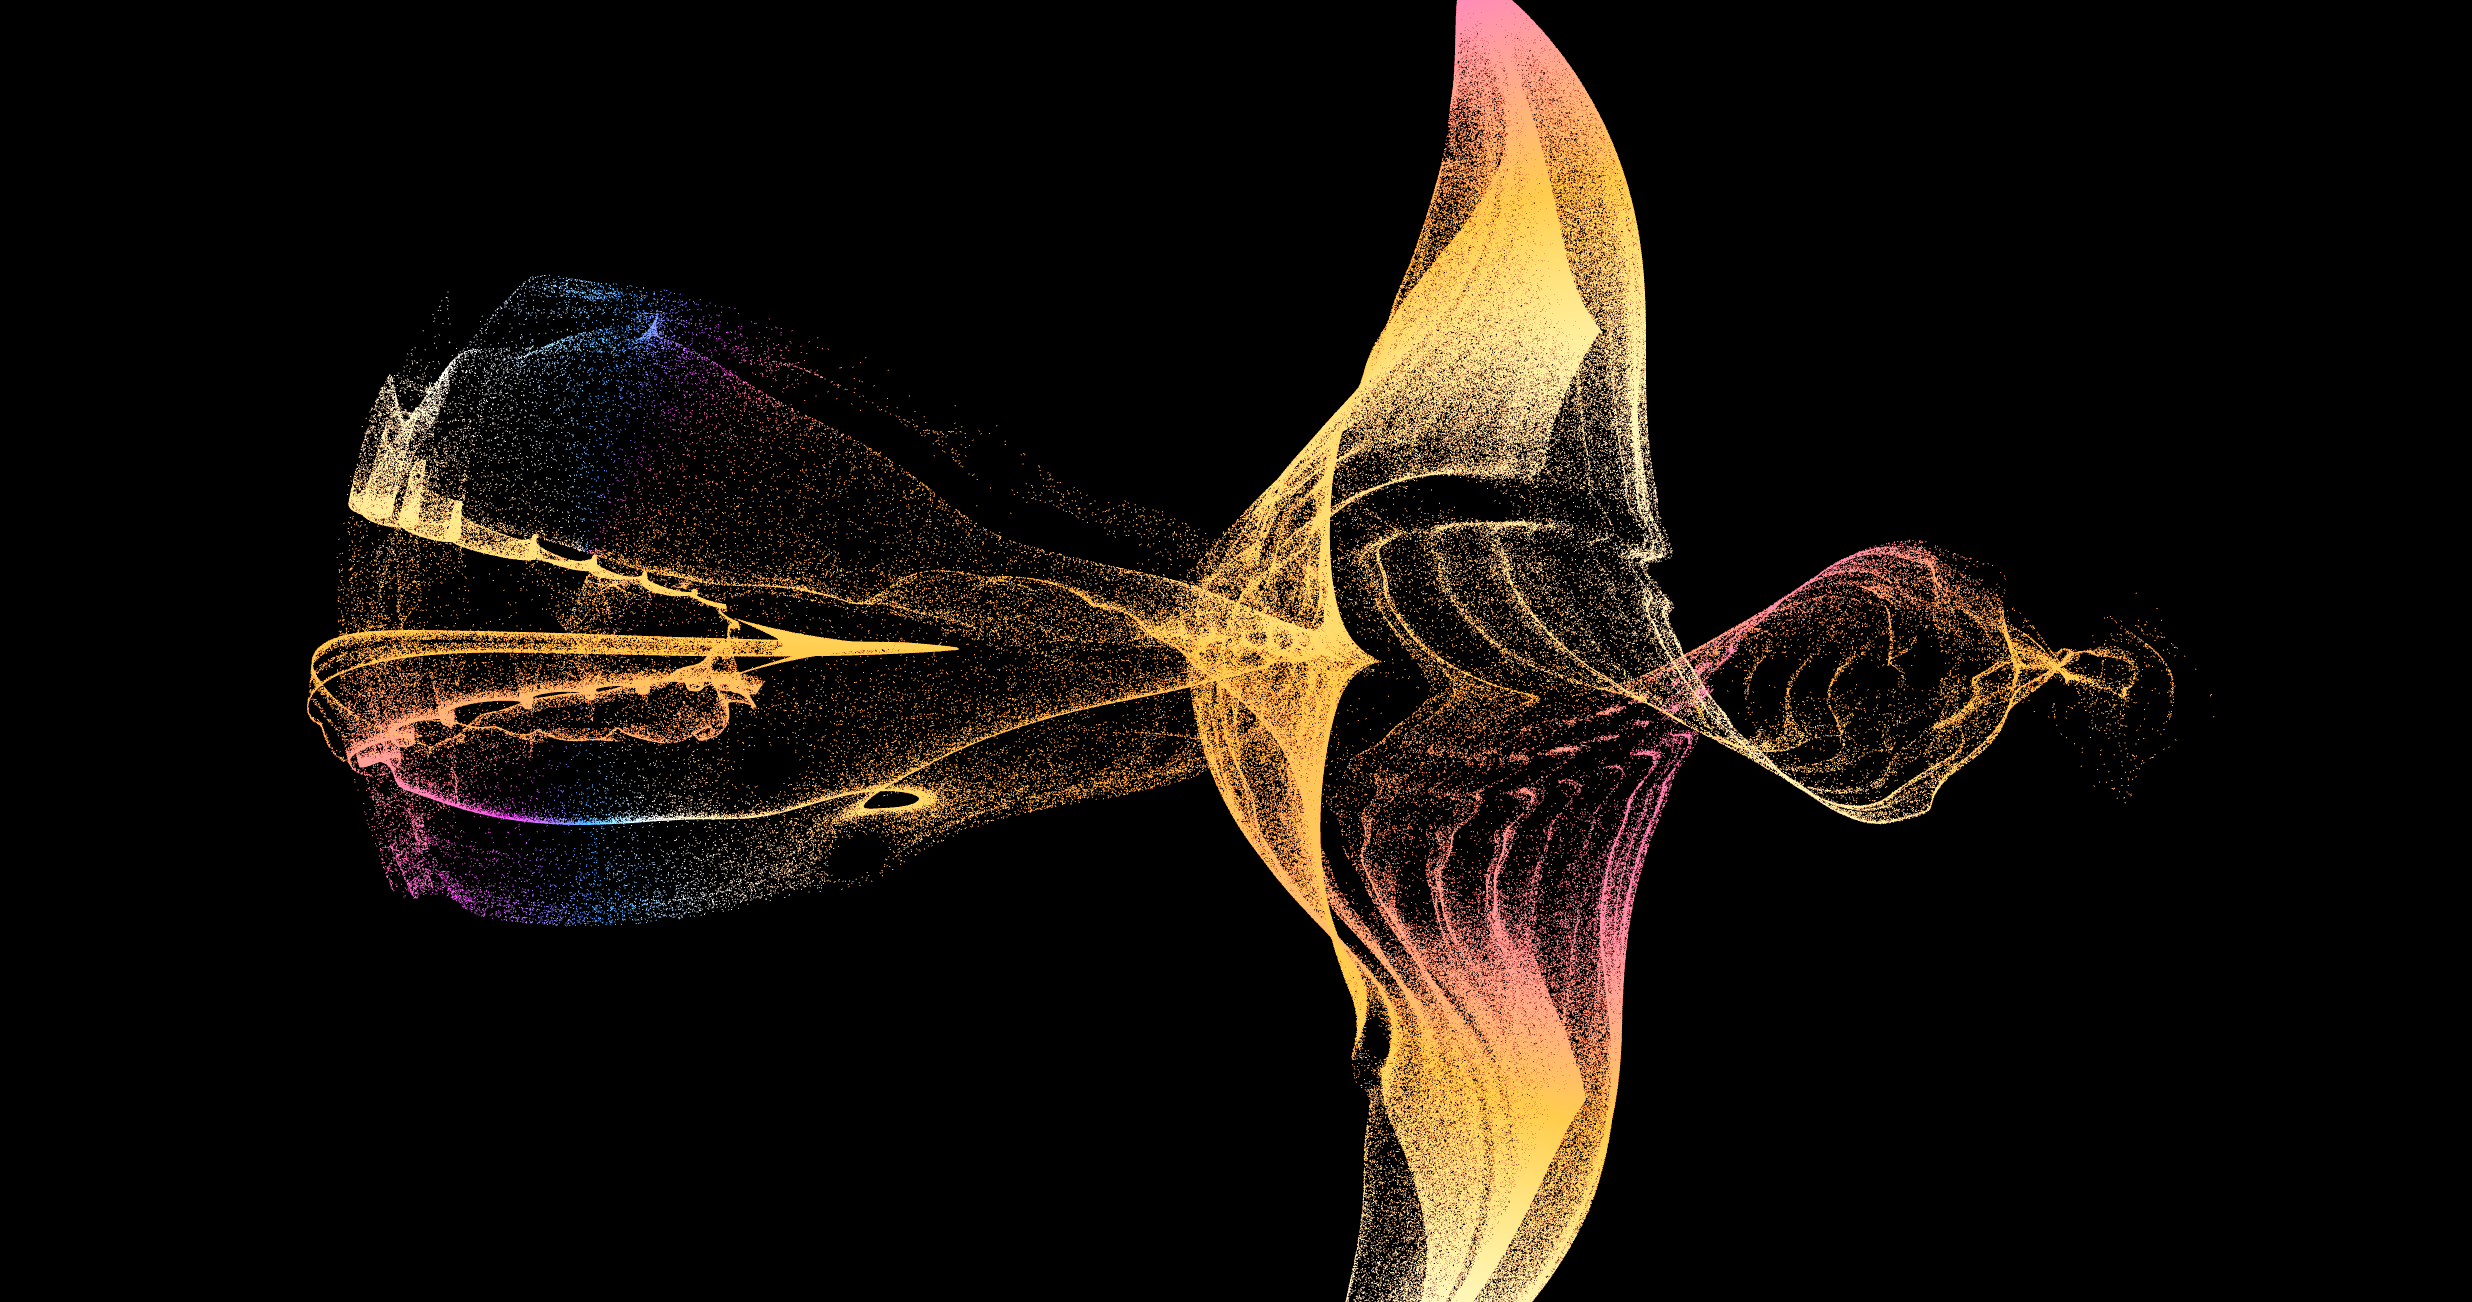
The results are honestly quite spectacular as even though everything is 2D, it still gives a 3D illusion.


